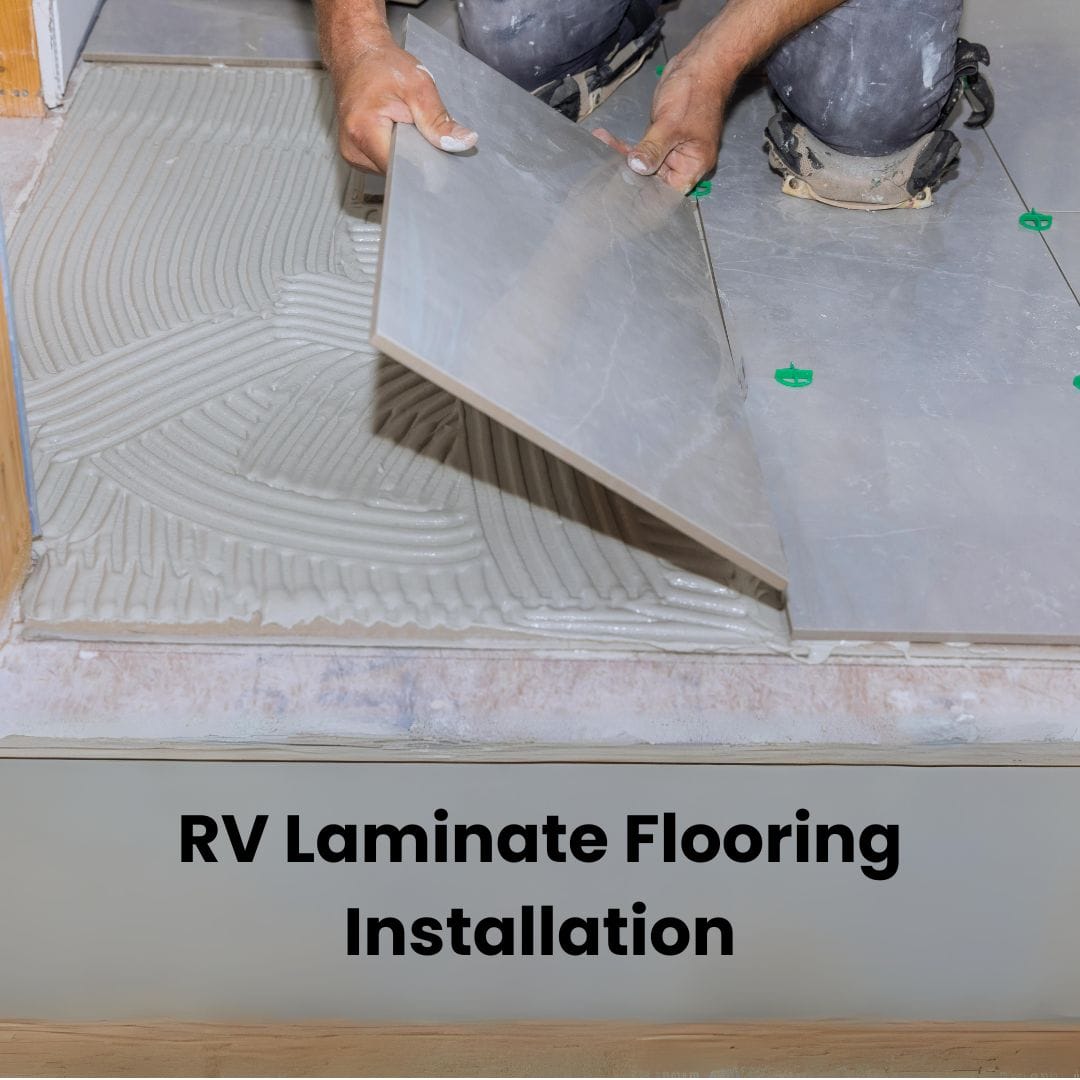
Laminate flooring is versatile and low maintenance, and many homeowners use this flooring for their houses. However, laminate flooring is not just for houses; owners of recreational vehicles can also benefit from installing it in their mobile homes.
Learn about How to Repair Water Damage to Laminate Floors
It gives the feel of a classic hardwood floor without the maintenance required by the hardwood floor.
Are you planning on installing laminate flooring in your RV and wondering how to install laminate flooring in an RV with slide-outs? Well, you have come to the right place. This article will guide the installation of laminate floors in the RV.
Like other DIY methods, you have to carefully plan the process. First, remove the existing flooring and repair the subfloor before placing the new laminate floors.
Sliding mechanisms vary from RV to RV, so you must install the floor according to the vehicle’s slideout floor.
Why are Laminate Floorings Best for RVs?
Shifting Along the Vehicle
Recreational vehicles are designed to have the comfort of a traditional home in a towable vehicle. Flooring is an important yet the most complicated part of the RV. Since you will be traveling in the RV, the constant movement loosens the traditional glue-down or nail flooring. Laminate floors are floating floors that don’t require adhesives, allowing them to shift and move along with the vehicle.
Find out How to Fix Peeling Laminate Floor
Lightweight
Laminate floors are lightweight, which makes them the best option for those who are conscious of the weight of their RV.
Low Maintenance
The best thing about laminate planks is that they are durable and do not require special maintenance and care like carpets or hardwood floorings.
Easy to Replace
Some accidents are almost inevitable and can put a dent in the laminate floors. Luckily, laminate floors are easy to repair and replace, so you can always have a flawless floor.
Variety of Colors
Another reason most RV owners choose laminate floors is that they come in various appearances like wood or tile flooring.
Discover Laminate Flooring in Basement: Pros and Cons
How to Install Laminate Flooring in an RV With Slide Outs?
About one million people in the United States have chosen to live full-time in an RV. The number of people living in RVs is expected to rise as more people choose to live in these tiny movable houses.
This lifestyle has numerous benefits and challenges. One of the major benefits of living in an RV is the cut down on the housing expenses related to traditional homes.
Planning the Process
Changing the floor of your RV into a different type is challenging. You must consider the side floor area and see how it transitions to the main floor. The sliding mechanism varies in different types of RVs. Therefore, getting the dimensions right is an important part of installing laminate floors before installing the laminate on the slide.
First, draw out the blueprint of the RV floor and mark the areas where you want to install the laminate floors.
Learn more about How to Make a Stagger Pattern for Laying Laminate Flooring
Measuring the exact square foot and work area will help you know the right amount of required flooring material.
Note: You can remove everything or leave the original carpet below the bed.
Removing the Carpet
Most RV floors have carpets that have been stapled to the floor. They are difficult to remove, especially if the stables are enclosed under the pre-installed furniture or some other hard-to-reach areas, so be prepared for some elbow grease.
If the carpet is thick enough, you can pull the stables out along with the whole carpet. However, this method might not be effective if the carpet is thin and fragile, as the weight and size of the carpet will not be enough to pull the staples out of the subfloor.
Use a multi-tool to remove carpet padding or pull out the staples with a set of pliers.
Here’s How to Remove Scratches from Wood Floors
Some RVs have linoleum on the floor, which is also somewhat tricky to remove, especially if it has been glued down with many adhesives. You can remove the linoleum with a utility knife to access the subfloor. Also, you can use a pry bar to remove linoleum more quickly.
It will be difficult to remove old flooring from hard-to-reach areas of the RV. You can leave the original flooring in those areas but ensure that it does not affect the installation of the laminate floor.
You might be tempted to leave the carpet on slide-outs, but it is not advisable as it brings inconsistency to the floors, which beats the logic of installing new floors.
Consider How to Get Dents Out of Laminate Flooring
Repairing the Subfloor
Once you have removed the linoleum and old carpet from most of the floor, you can check the subfloor for any damage. Repair the subfloor if it needs any before you move to the next step.
Water due to a leakage problem is a major cause of subfloor damage in RVs. Inspect the subfloor by sweeping and removing the debris. If the surface has been damaged, you can fix or fill it up with a store-bought repair kit.
Explore more about How to Fix Buckling in Laminate Floors
Make sure you repair all the existing defects before installing the flooring.
Installing the Underlayment
Laying an underlayment on the subfloor makes the laminate floor more stable. It acts like a floor protector to prevent heat and moisture damage to the laminate planks and the subfloor.
Take the exact measurements of the floor to ensure you buy the right sizes of underlayment to cut for your floor.
Acclimate the Flooring Material
Before installing the laminate boards in your RV, it’s important that you acclimate them to the RV’s environment. Material like wood and laminate expands and contracts according to the temperature and humidity in the RV. You can lay the laminate floorboards in your RV for a couple of days to allow them to expand or shrink in the RV’s environment. You can read the manufacturer’s instructions on acclimating to ensure you have flawless laminate flooring.
Learn How to Repair Scratches on Hardwood Floor
Placing the Laminate Floor
There is no hard and fast rule on installing the laminate floor, but most RV owners start from the longest side of the RV. Here are some helpful tips for installing laminate flooring in your RV:
- Lay the first row of laminate planks from end to end.
- Measure the required size of the plank at the end of the row and cut out a laminate board according to it.
- Ensure you leave space between the wood floor and the wall to prevent buckling.
- Check if all the planks are locked firmly by tapping the adhesive strips with a rubber mallet.
Read about How to Repair Scratches on Hardwood Floor
Work on the Slide Outs
The RV’s slide room is the most difficult part of installing the new flooring. Removing the slide-out carpet can leave gaps between the main and slide floors.
Most RVs come with plywood that covers the gap between the slides and the main floors, but it is usually removed along with the RV’s carpet. There are different methods that you can choose to fill in these gaps. One of the methods is to place a piece of a sturdy plank in the gap for a smooth transition.
Cover the gap by putting a laminate plank in that area while installing the laminate floor on the slide-out. Make sure the board is lengthwise to bridge the gap without putting too much weight on the sliding mechanism. Cut the material according to the need to prevent it from sticking out.
Glue down the plank into the slide-out so that the edge doesn’t budge despite the movement of the slide-out. Once you have secured the first edge, place the remaining planks till you reach the other end and completely cover the slide floor.
Installing Floors on the Odd-Shaped Areas
RVs have several odd-shaped areas, such as cupboards, kitchen islands, and cabinets. Installing new flooring in these areas is difficult since they require precise cut-out planks to accommodate the contours and shapes. There is no room for error in these areas therefore, make sure you get accurate measurements before cutting and installing the planks in these areas.
Here’s a guide on Best Vacuum Cleaner for Laminate Floors
Install a Baseboard
Baseboards keep the laminate floors in place, fill the expansion gap and complete the look for newly installed laminate floors.
Install the molding in high-traffic areas with high chances of edges sticking out, which can cause an injury.
You can choose the color of the baseboards, but the one that matches the grain and stain of the laminate floor is a better option to complete the look of the RV interior.
How to Maintain Laminate Floors in Your RV?
Laminate flooring is a durable, low-maintenance flooring. However, you will have to maintain the laminate floors from time to time to keep them in perfect shape.
Sweep Regularly
Sweeping regularly keeps your floor in good shape and prevents the build-up of dirt and debris. Though there are no specific rules on how often you should sweep a laminate floor, it is a good idea to sweep it every day, especially when moving.
If the buildup of dirt is allowed to sit for too long, it can damage and stain your laminate planks. Remember to use a dry microfiber cloth to clean the floors instead of a nylon bristles brush which can be too hard for the floor and cause scratches.
Wipe Spills
Water isn’t a good friend of laminate floors. If you let water sit on the floor for too long, it can seep beneath the floor and cause damage. So, lookout for spills and leaks to prevent water from getting soaked by the laminate floor.
If you own pets, placemats under the feeding bowl to prevent spills. It would be easier to clean if you placed mats near the kitchen area or outside the bathroom to prevent water from seeping through the laminate seams to the subfloor.
Dry Mop
Dry mopping laminate floors keep them neat and well-maintained. Do not use random oils and soaps to clean your laminate floors. Instead, use cleaning solutions that are designed specifically for laminate floors.
When cleaning with a cleaning solution, spray it on the mop first instead of pouring it directly on the floor. Dry mopping by spraying a cleaning solution allows you to clean the laminate floors without exposing them to too much moisture.
Regulate Humidity in RV
If you are installing a laminate floor in your RV, you might need a dehumidifier to regulate humidity in your vehicle. Changes in humidity affect laminate floors, and they will expand or contract with the change in humidity and temperature.
Since you will be traveling to different areas in your RV, you will experience a lot of changes in temperature and humidity, so having a dehumidifier would be a good idea.
Check the Subfloor Before Replacements
Installing laminate boards on a damaged subfloor can cause problems in the future. Therefore, check the subfloor for any damages when you have it exposed and repair them before installing a new laminate floor on it. Also, sort out the problems like pipe leaks before you proceed.