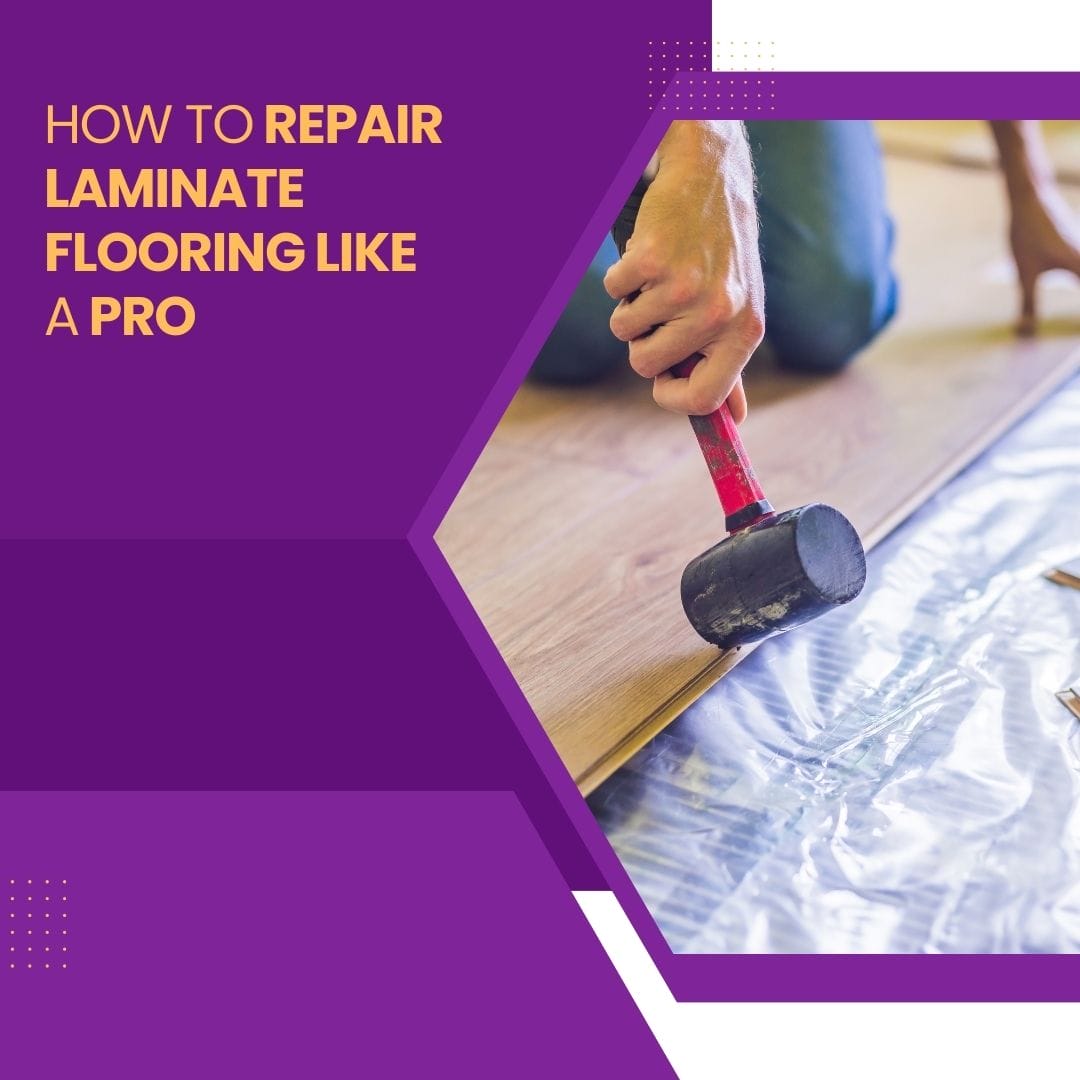
A new floor can make all the difference and enhance the look of your interior design. A laminate floor is a great choice for its affordability and looks that mimic real wood. This type of floor is quite durable, but it is not indestructible. They can wear off over time and can get damaged due to some accidents. Fortunately, you can repair a laminate floor without getting help from professionals.
If your laminate floor planks are damaged or have cracks and scratches, you can fix them with the correct color-match repair kit, similar to the approach detailed in how to repair chipped laminate flooring. When your laminate floorboards need changing, first determine the area where the plank needs changing. This is important because different areas need different kinds of treatment.
What kind of treatment the laminate plank needs depends on its severity and type of damage. In this article, I will guide you step by step on how to repair laminate floors and give you some tips on how you can prevent your laminate floorings from getting damaged.
Read more about How to Get Dents Out of Laminate Flooring
Tools Required For Repairing Laminate Floor Planks
- Circular saw
- Drill/driver – cordless
- Pliers
- Straightedge
- Wood chisel
- 4-in-1 screwdriver
- Drill bit set
- Hammer
- Putty knife
- Utility knife
- Extra flooring
- Wood glue
- Cleaning solvent
- Laminate flooring patching material
Apart from all these tools, you will need new laminate planks similar to the design of the floor. Picking a different design will make the patchwork too obvious. It will look unnatural and can ruin your floor’s look.
Sometimes, it can be difficult to find matching laminate planks, a situation also addressed in how to get dents out of laminate flooring. You can either go to the store where you bought your laminate floorboards or buy the replacement planks online.
Assess the Damage
With filler tools and products, you can repair minor scratches and chips in laminate flooring. However, if there has been severe damage to the planks, you must replace them with new ones. You can replace them without having to call professionals for help.
Some flooring professionals recommend that you first remove the base molding and number every plank to the damaged plank. This is fairly helpful when the damaged plank is close to the wall.
If the damaged laminate plank is a few rows out from the wall, cutting it out is faster than removing all the planks one by one.
If the laminate floor is glued together, unsnapping does not work well.
Repairing Finish Damage and Scratches
Laminate flooring is durable enough for heavily trafficked residential spaces. But, finish damage and scratches still occur because of accidents and carelessness. After all, there is only so much abuse the laminate material can handle.
In most cases, you can easily repair scuffs, scratches, and finish damage, as also discussed in how to repair scratches on hardwood floor. You just need a simple laminate floor repair kit which you can buy from any hardware store or online. Here is how you can effectively use a laminate floor repair kit to repair scratches and finish damage.
Find a Repair Kit Similar to your Laminate Floor
Laminate floor repair kits are available in different colors to match different floorings. You can take a piece of the laminate floor to ensure you buy the right one.
Burn-in Sticks With Repair Kits
A laminate floor repair kit is made for repairing scratched laminate floors. It contains Burn-in Sticks of different colors to match the color of your floor. You can pick the kit with burn-in sticks the same color as your laminate floor. The contents of repair kits vary from kit to kit.
Here is how you can repair laminate flooring with a Burn-in Sticks repair kit:
- Cut out the splinters with a putty knife around the area that you will repair so that they don’t come in the way and cause an injury.
- Use the melting tool in the kit to melt the sticks in the damaged area. You can combine different colors to match the color of the floor.
- Melt lighter shade first, and then add darker sticks. This allows you to fix the color if the color does not match the floor color.
- You can add white sticks to make the shade lighter. For a darker shade, add a darker stick.
- Let it sit to dry for a while.
- Use fine-grit sandpaper to sand it to make the area leveled to the floor.
- Wipe the area clean.
- Apply a liquor finish or varnish it to get a protective layer and shiny finish. Make sure you get proper ventilation in the area when you are applying a varnish.
Discover How to Repair Chipped Laminate Flooring
Wax Markers/Pencils
Wax markers are effective for fixing minor scuffs. Wax markers are easy to use and easy to find. You can find them at your local hardware store.
Here’s How to Get Scratches Out of Laminate Flooring
Make sure you pick the marker of the right color to match your laminate floor. This will hide the patchwork and give your floor a normal look.
To repair laminate flooring with a wax marker, stroke it in the opposite direction of the scratched panel. Then rub it up and down and wipe it with a dry, soft cloth to make the buff unnoticeable.
Crayon
Crayon is a cheap, effective, and easy way to fix scratches on the laminate floor. You simply have to melt crayons and fill the scrapes with them.
Use the crayons that match your laminate floor color to look natural. You can mix up different colors to get the color you want.
Let the crayon dry in the place. Then scrape excess crayons using a putty knife.
Test the Repair Kit
The colored putty, marker, or crayon with your repair kit may appear correct, but sometimes, they look different when you put it on the damaged area. You can test the kit in an inconspicuous area first. If it is the right color, you can proceed to repair the damages.
Clean the Area
Debris and dust can impede the repair process. Wipe the area with a soft, dry cloth where you want to repair it.
Fill Up the Scratch
Fill in the damaged or scratched area using a crayon, marker, or colored putty. If you are working with colored putty, avoid using more than required. If you are working with crayons or markers, add color in layers and go over the scratched area several times.
Level the Repair
You can level the filled-in area with the rest of the floor using fine grit sandpaper. Use it carefully to avoid scratching your floor further in the process. Rub the fine grit sandpaper in the scratch direction to prevent the broadening.
Clean the Floors
Once you are done repairing the damage or scratch on the laminate floorboard and are satisfied with its overall color, clean the floor to see the results. Use the cleaning product that is recommended by the manufacturer of the repair kit, such as acetone.
Varnish
Apply varnish to add a finish to the patchwork. Make sure you read the instructions on the repair kit and see if it recommends varnish or not.
Repairing Lifting and Buckling Laminate Floors
Though laminate floors are durable, there are several reasons why it buckles or lifts over time, including situations covered in how to fix buckling in laminate floors. A lack of acclimation before installation, water damage, and little expansion gap are the main reasons your laminate floors will buckle. Sometimes, high temperatures can cause it as well.
Consider How to Fix Buckling in Laminate Floors
Here is how you can assess and repair laminate flooring that is lifted or buckled.
Determine the Cause of Damage
The first thing to do before repairing laminate floor buckles you need to identify the reason why it happened. Identifying the cause will help you prevent it from happening in the future. If it is caused due to little expansion gap, you will avoid making the same mistake again when installing new planks.
Uninstall the Laminate
Carefully remove the laminate that leads from the molding and wall to the problem area. If the planks are in good condition, you can reuse them if you don’t damage the locking system.
Install New Planks
Remove the damaged floorboards and replace them with new ones. Place new planks and work backward toward the wall and molding. Make sure you leave enough expansion gaps near the wall.
Replace the Molding
Finish the job by replacing the molding. Touch up the molding with paint if you need it.
Pro Tip
- Make sure you have extra laminate flooring to replace damaged planks quickly. This will also ensure that your replacement laminate flooring matches the older ones perfectly.
- Smaller jobs like replacing or repairing the planks are easy, and you can do them yourself. However, bigger tasks may require more skills, patience, and time.
Replacing Laminate Floor Planks
If one of the laminate planks has sustained damage, it can be easily fixed or replaced. Cracks and minor scratches can be repaired with a burn-in stick repair kit. These sticks are available in different colors to match your laminate’s color. They are simple and easy to use and give impeccable results.
Explore more about How to Repair Chipped Laminate Flooring
Removing the Damaged Floorboards
Once you have gathered all the necessary tools and material, it is time to remove the damaged planks.
First, pull the damaged planks out carefully using the putty knife. Be careful to use the putty knife at 45 degrees from the floor so that you don’t end up causing more damage to the floor.
You have to take out the entire plank even if there is just a small part that requires repair because if you leave it there, it will get worse. So make sure you remove the whole floorboard to expose the floor underneath.
Make sure the floor beneath does not have signs of mold. If mold or fungus exists, clean it and spray the area with anti-fungal spray before installing the new planks.
Read about the Best Steam Cleaner for Bed Bugs
Replacing the Damaged Planks
When replacing the damaged planks, make sure you have the same plank design as the ones you installed before. If you have purchased extra planks during your laminate flooring installation, the matching replacement will be no issue.
If your laminate floor has been installed for some time, the design you want likely has already been phased out. In that case, you can choose a design similar to that of your laminate flooring, or you can consider a complete replacement.
Installing the New Planks
Before installing new planks, make sure the floor underneath is cleaned. Also, check if the replacement planks fit perfectly on the bare floor. Then add some adhesive and start installing in the laminate planks. Then put a heavy object on the newly installed planks and leave it there for a few hours until the adhesive dries up.
Repairing Water Damaged Laminate Floors
Laminate floors are made to last. They are resistant to water, making them perfect to use in your kitchen or bathroom. However, this doesn’t mean they are waterproof. If water is left to sit on the laminate flooring, it can seep beneath the planks and cause damage to them. A leaking pipe can cause damage beneath your laminate planks. In this case, you must replace at least a floor section.
Luckily, replacing a part of a damaged laminate floor is not an overwhelming procedure. Below is a step-by-step guide to fixing your water-damaged floors.
Here’s a guide on How to Repair the Water Damage to Laminate Floors
Take Out the Damaged Planks
Remove the molding from the nearest wall from the damaged planks. Then remove all the planks leading to the damaged area.
To remove the planks, disassemble the locking system that connects planks together. Unlocking the planks will allow you to remove the tongue of planks from the groove of the adjoining plank.
Replace the Planks
Take out the damaged plank or planks and replace them with a new one. Reassemble them and lock them in place. Work your way back toward the wall locking each plank in place.
Finish
Put back the molding in its place and wipe the floor to see the results.
Pro Tip
Removing all the planks can be time-consuming if the damaged plank is at the center of a large area. In that case, you can drill out the damaged planks without having to remove the other planks around them. However, it will be better if you leave it for a trained professional as it requires special skill and experienced hands to do this without further damaging your floor. If you do it on your own, there is a high risk of damaging multiple other planks, which will be costly.